
Freemarker syntax highlighting in NetBeans
Installing Freemarker support for NetBeans was quite complicated when I did it for the first time. Unfortunately the official Freemarker’s website pointed me to a wrong plugin.
To have Freemarker syntax highlighter correctly configured, you should first install a plugin called “Lexer to NetBeans Bridge”. You can find it here: Lexer to NetBeans Bridges.
Then you install plugin named “Freemarker NetBeans Plugin” available here: Plugin
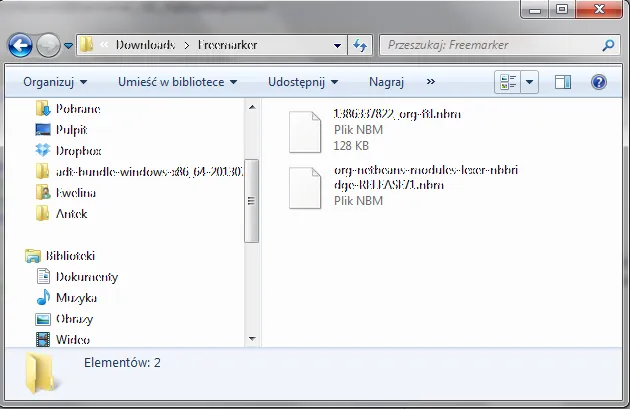
Make sure you have these files downloaded.
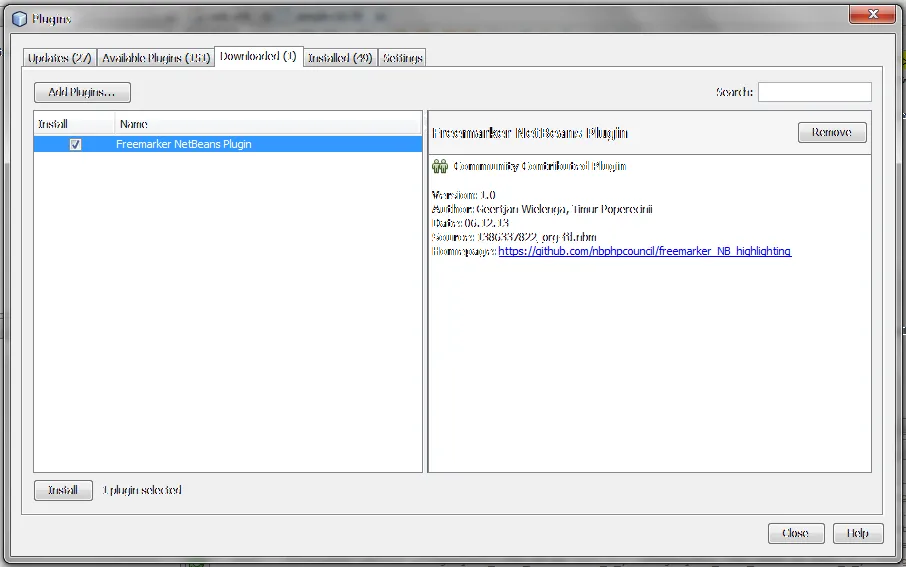
Install both of the plugins using menu Tools > Plugins
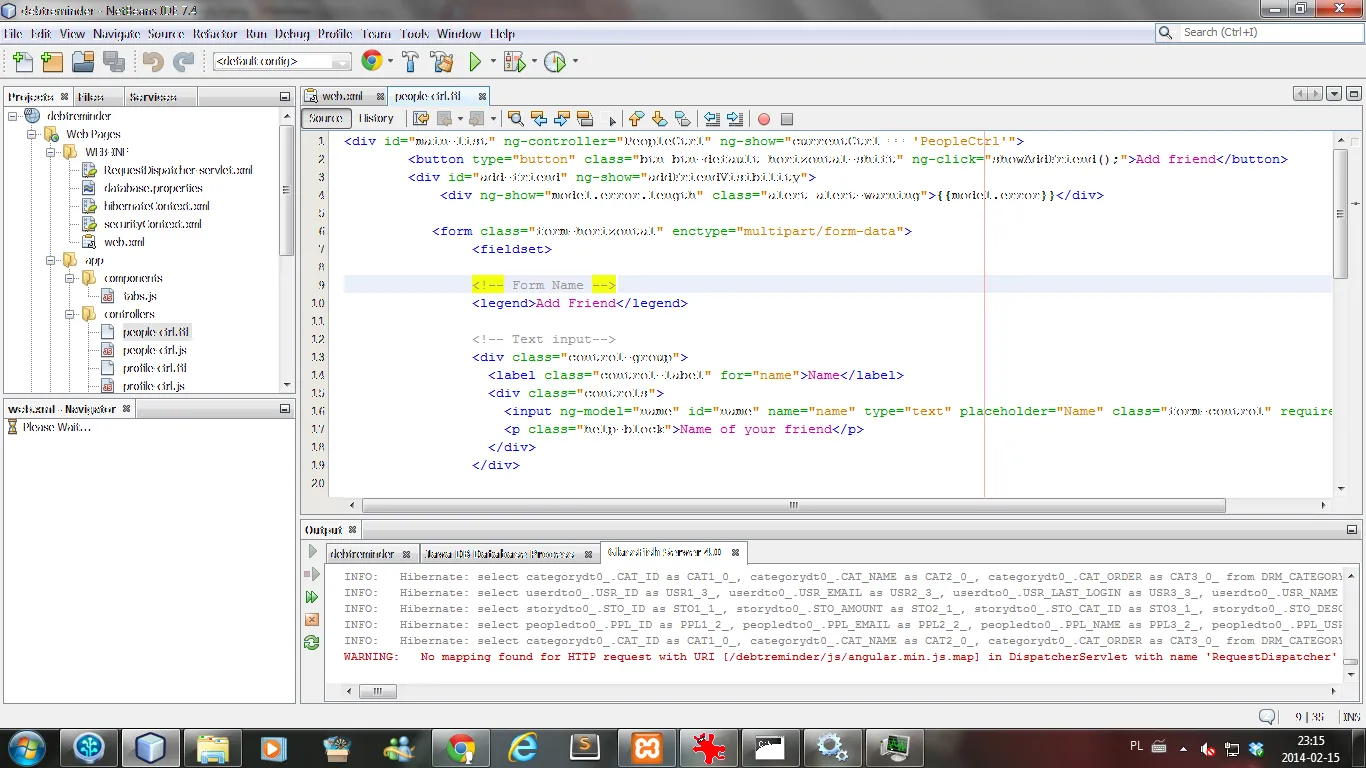
Now it looks just fine.
After the installation process ends make sure you don’t have other Freemarker plugins installed. They can cause some problems, so in my case I had to make a quick cleanup after installing those plugins.

Michał Cichoń is a software engineer based in Kraków, Poland.
With over 15 years of experience in web and mobile development, he specializes in building software systems across mobile and backend environments, with a strong focus on product-driven engineering.
Over the years, he has collaborated with financial institutions, biomedical companies, and startups from New York, Berlin, and beyond. He is currently focused on AI systems that support and automate parts of the software development lifecycle.