
SSH Tunneling using PuTTY and Google Chrome
Sometimes we need a tunnel to pass our internet traffic trough some external server. We usually do that when we have some limitations from our internet provider and want to enter pages we normally don’t have access to. In this short tutorial I will show you how to do that using PuTTY (SSH) and Google Chrome.
Requirements
We will need a shell account obviously. There are plenty of providers, and universities usually give sort of shell accounts to their students. Chrome browser can be downloaded here and PuTTY can be found here.
Creating SSH Tunnel in PuTTY
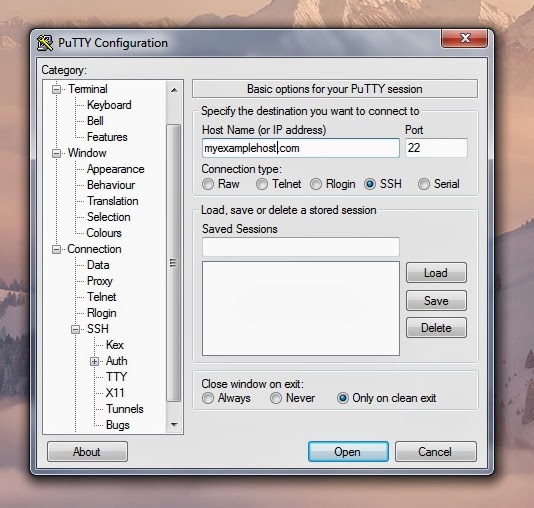
First thing we need to do is creating connection. Open PuTTY and configure your connection by providing host address and port number. For SSH we usually use port 22.
Go to Connection → SSH → Tunnels option in the tree view (left panel).
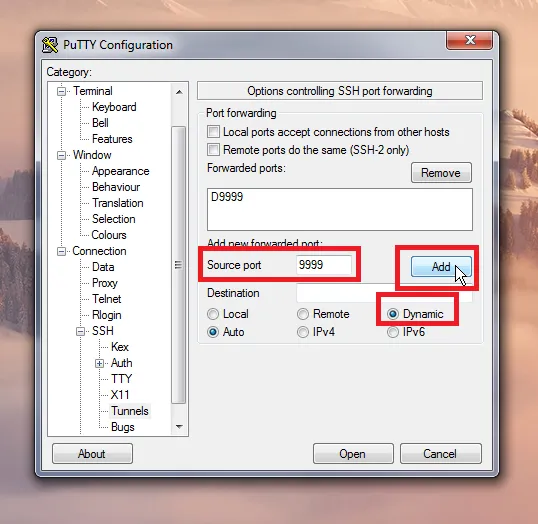
Now we need to do as follows: choose Dynamic, fill in the source port (for example 9999, but feel free to use any available port) and click Add button. Now it should be something in format D{PORT_NUMBER} on the list above. Click on Open.
Next, log in to your server as usual:
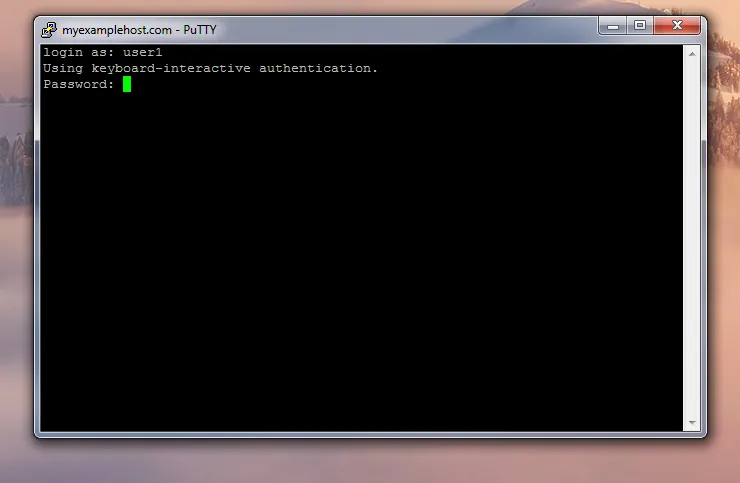
Since now we have our own proxy server on 127.0.0.1:9999.
Using a tunnel in Google Chrome
It’s the time for the crucial part of the configuration. 😛 We need to configure proxy in Chrome. It is not so intuitive because when we want to set it in Chrome by Chrome’s setting, it redirects us to Control Panel with Networking configuration opened. We don’t want to change the configuration of the whole PC but only for Chrome browser so we need to do this other way.
In Firefox we have a nice configuration manager where we can choose proxy server for Firefox exclusively but there is no such thing in Chrome. The solution is to use parameters when we start the browser. We could provide them by the command prompt from the Chrome location:
chrome.exe --proxy-server="socks5://127.0.0.1:9999"
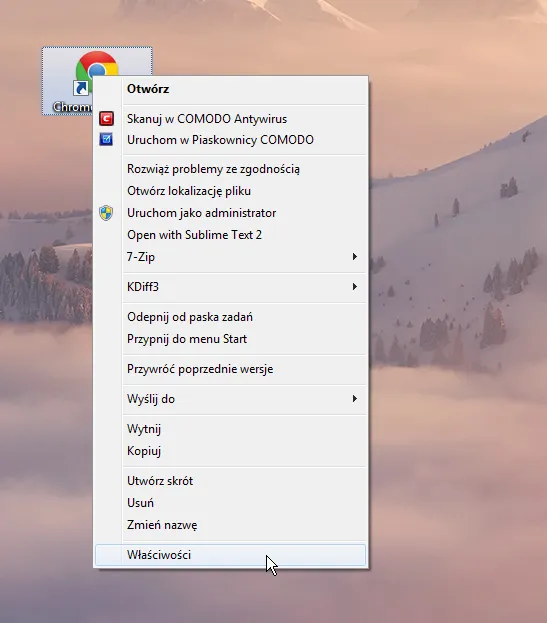
But using Windows shortcuts is much easier. Just copy your Chrome shortcut to Desktop and change its name to something like Chrome - tunneled to identify it easier. Then right click on it and choose Properties from the menu (Właściwości on the screenshot).
Now provide parameters in the Setting window as in the screenshot below.
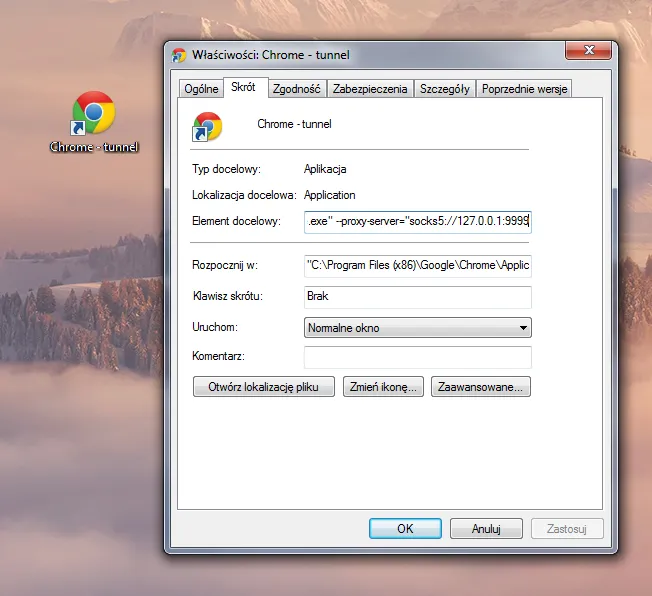
In the Target (“Element docelowy” on the screenshot) field we add proxy-server parameter. We don’t change the existing text but we add the text below just after chrome.exe":
--proxy-server="socks5://127.0.0.1:9999
Now you can click on the OK button.
Make sure you have provided the correct port number. I used 9999 and you can use whatever you want but it is important to use the same in the PuTTY’s and Chrome’s configurations.

Michał Cichoń is a software engineer based in Kraków, Poland.
With over 15 years of experience in web and mobile development, he specializes in building software systems across mobile and backend environments, with a strong focus on product-driven engineering.
Over the years, he has collaborated with financial institutions, biomedical companies, and startups from New York, Berlin, and beyond. He is currently focused on AI systems that support and automate parts of the software development lifecycle.